
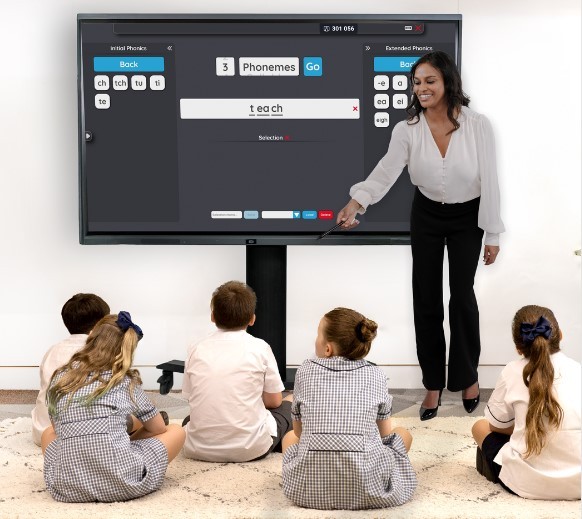
If you’re kitting out a classroom with an interactive touch screen for the first time, the size question comes up before almost anything else. Get it right and the screen disappears into the lesson — every student can see and reach it comfortably. Get it wrong and you’ve either crammed an oversized panel into a small room or squinted at text from the back row for the next five years. Here’s how we help schools work through it.
Start with your classroom size and seating
Screen size should follow room size, not the other way around. As a rough guide for a standard classroom:
- 55″–65″ – small classrooms or breakout spaces, up to around 20 students
- 75″ – the most common choice for a standard classroom of 20–30 students
- 86″ – larger classrooms, lecture-style rooms, or spaces where the screen sits further from the desks
- 98″ – halls, libraries, and shared learning spaces where a big group needs to see clearly from a distance
If you’re unsure which bracket your room falls into, measure the distance from the screen wall to the back row of desks – that number matters more than the room’s floor area.
The viewing distance rule of thumb
A simple way to sanity-check your size choice: divide the distance from the screen to the furthest seat by four. That gives you a comfortable minimum screen size in inches. So a classroom where the back desk is 6 metres (about 240 inches) from the screen wants at least a 60″ panel to keep text and diagrams legible from every seat – and most schools go a size or two above that minimum for comfort, since teachers also use these screens for detailed annotation and small on-screen text.
IR vs PCAP: which touch technology suits a classroom?
Once size is sorted, the next decision is touch technology. Infrared (IR) touch uses a grid of infrared beams around the bezel to detect where you’ve touched the screen, and it’s the tried-and-trusted option in most Australian classrooms – reliable, well-priced, and it works with a finger, stylus or pointer without any special hardware. Projected Capacitive (PCAP) touch, the same technology behind smartphone screens, reads changes in an electromagnetic field through the glass. It’s a touch faster and more precise, which shows up in fine handwriting or detailed diagrams, but it typically costs more. For most primary and secondary classrooms, IR touch comfortably covers what students and teachers need day to day; PCAP is worth the extra spend for specialist spaces like art, design or senior science rooms where precision matters more.
Look beyond the screen: warranty, support and mounting
The panel itself is only part of the decision. A few things worth checking before you commit to a brand or model:
- Warranty length – look for at least a 5-year warranty, which is standard across our education-grade ranges
- Wireless casting and remote management – lets your IT team push updates and troubleshoot without visiting every classroom
- Mounting options – a fixed wall mount suits a dedicated classroom, while a motorised or height-adjustable stand is worth it for shared spaces or younger students who need the screen lowered
- Training – ask whether ongoing training is included, so staff turnover doesn’t leave a screen underused
These details rarely make it onto a spec sheet comparison, but they’re usually what determines whether a screen gets used every day or gathers dust by term two.
Buying for more than one classroom?
If you’re equipping several classrooms at once, it’s worth speaking to us before you finalise sizes room by room. We can quote a bulk order across mixed sizes and brands, which usually works out more cost-effective than buying each screen individually – and keeps your fleet consistent for IT support and staff training.
Not sure which size or brand suits your school? Get in touch and we’ll talk through your classrooms and budget, or browse our full range of interactive touch screens to compare models side by side.